
Setting Up AdGuard Home on a Debian VPS: A Comprehensive Guide for Basic Configuration
In this article, we’ll guide you through the process of configuring AdGuard Home on a Debian VPS (Virtual Private Server) for basic usage. AdGuard Home is a network-wide ad-blocking and DNS-filtering service that helps you protect your devices from intrusive ads, trackers, and malicious websites. Let’s get started!
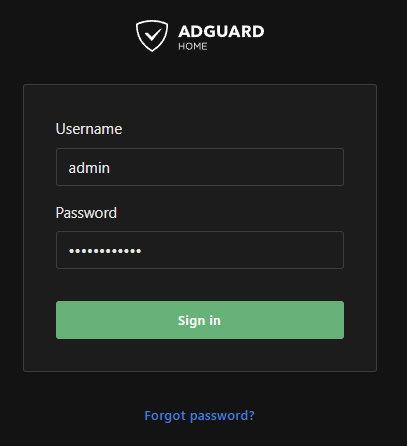
Step 1: Log in to AdGuard Home
- Open a web browser and enter the IP address of your Debian VPS with the port number 3000 at the end (e.g., http://your.vps.ip:3000).
- Enter your admin username and password that you set during the installation.
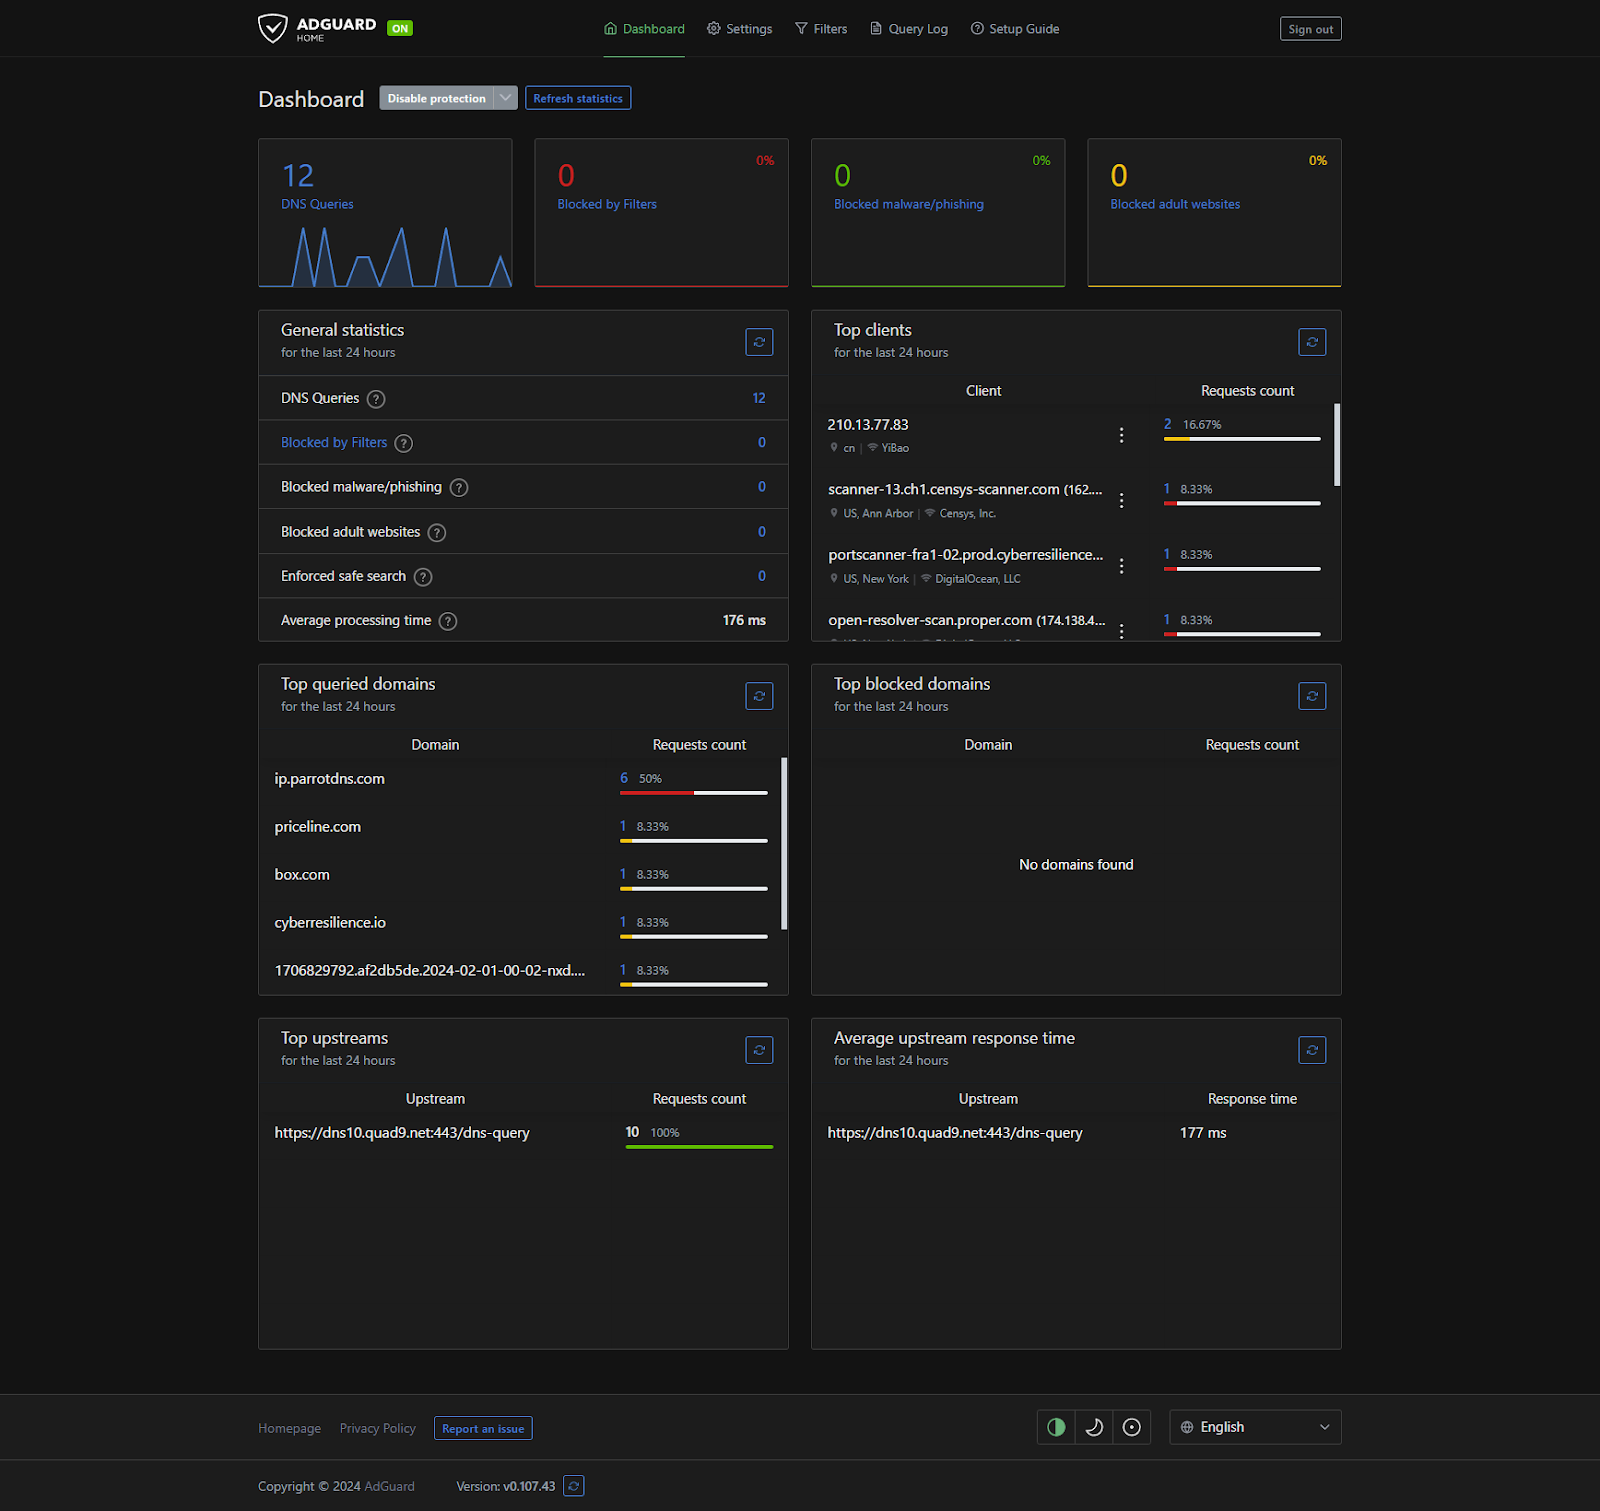
Step 2: Explore the AdGuard Home Portal
You’ll be greeted with the AdGuard Home portal’s landing page. Take a moment to familiarize yourself with the interface and available features.
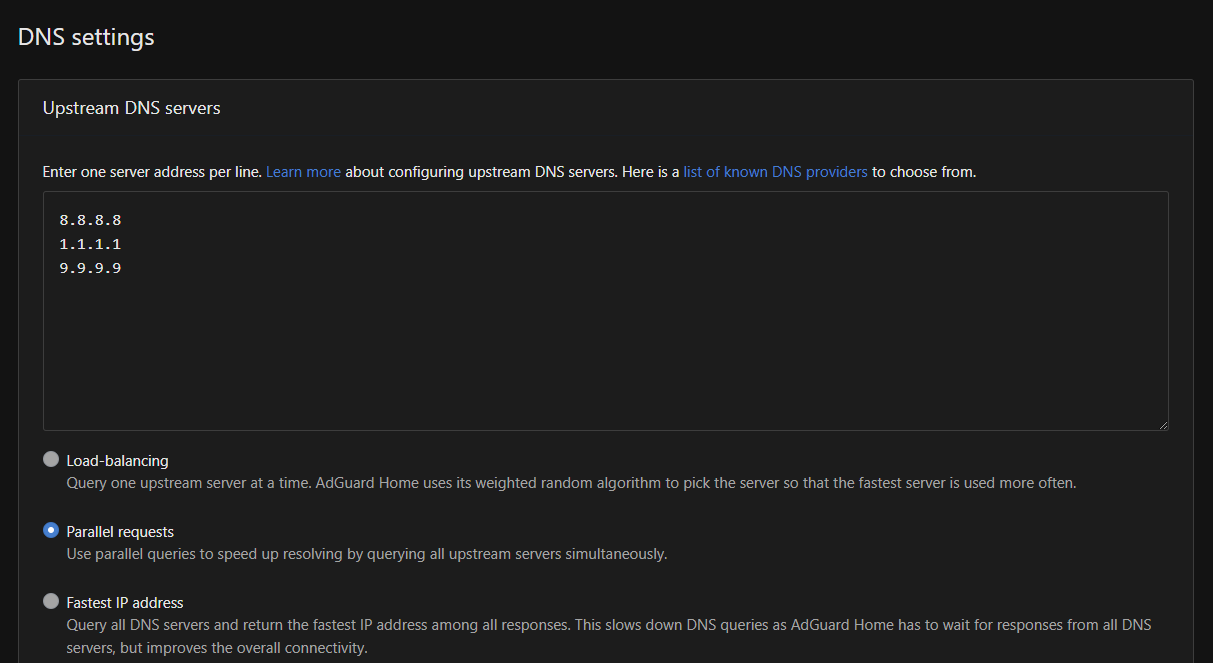
Step 3: Configure DNS Settings
- Go to Menu > Settings > DNS Settings.
- Leave most settings at their defaults, but change the Upstream DNS Servers to your preferred choices. Popular options include Google, Cloudflare, and Quad9.
- Select the “Parallel requests” option using the radio button, as shown in the image below.
- Click Save Configuration at the bottom of the page.
Step 4: Add Blocklists
- Go to Menu > Filters > DNS Blocklists.
- By default, AdGuard Home’s built-in “AdGuard DNS Filter” is selected.
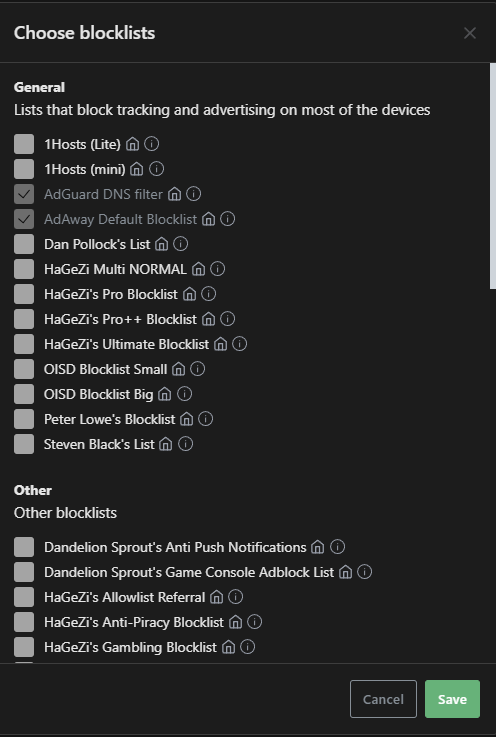
- To add more blocklists, click Add blocklist.
- Select the blocklists you want to use from the available options and click Save.
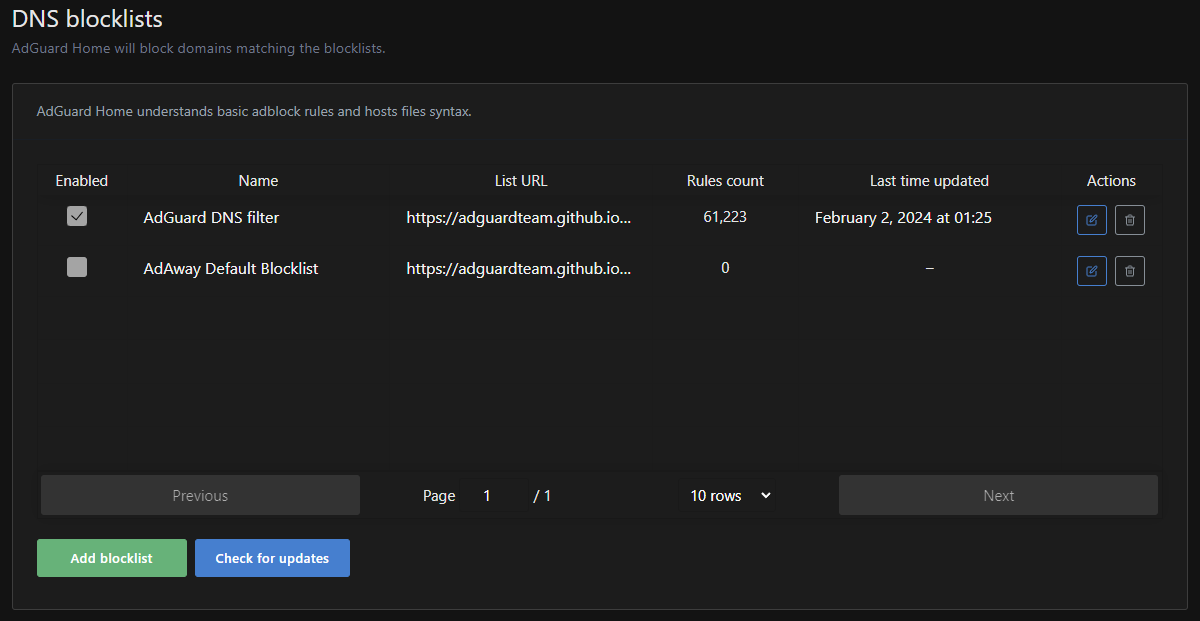
Step 5: Update Blocklists
- After clicking Save, you’ll see your selected blocklists in the “DNS Blocklists” section.
- Click Check for updates to download the latest blocklist data.

Step 6: Point Devices to AdGuard Home DNS
- To use AdGuard Home for DNS filtering on your devices, you’ll need to change your DNS settings to use your VPS’s IP address. The process varies depending on your operating system.
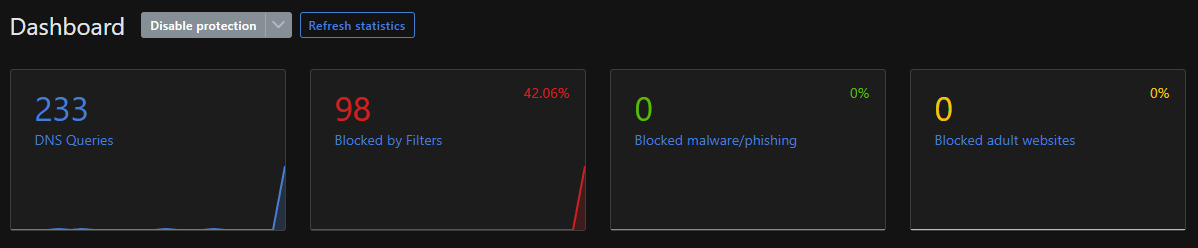
- Once your devices or network are configured to use the AdGuard Home DNS, you’ll start seeing log entries in the AdGuard Home dashboard.
- Test your ad-blocking and filtering by visiting popular websites and observing the results.
Step 7: Monitor Query Logs
- Go to Menu > Query Log to view and analyze the DNS queries being sent from your devices or network.
- You can also interact with individual entries by clicking the three dots on the right side and choosing to either whitelist or block the query for future requests.

Note: It’s important to understand that AdGuard Home may not block ads on certain platforms due to the way they serve their ads. Services like YouTube and Facebook deliver their ads from the same domain as the actual content, making it challenging for AdGuard Home to differentiate between the two.
As a result, AdGuard Home may not effectively block ads on these platforms. Similarly, other streaming services that utilize similar methods for ad delivery may also present challenges for ad blocking. However, AdGuard Home remains an effective tool for protecting your network from unwanted content, such as blocking access to adult websites and other harmful or inappropriate material.
Conclusion:
We’ve now completed the basic configuration of AdGuard Home on your Debian VPS. You should have a functional network-wide ad-blocking and DNS filtering service that can help protect your devices from intrusive ads, trackers, and malicious websites. Feel free to explore the various options and settings within AdGuard Home to further customize your web browsing experience.
That concludes our guide for setting up AdGuard Home on a Debian VPS. Happy browsing!
😊